Advanced Target Audience Segmentation
Deliver the right message to the right user at the exact right time. With NanoLog's powerful Segmentation engine, you can target individual changelog posts or feature announcements to specific user cohorts based on their active billing tier, role, platform, or custom properties.
Why use Segmentation?
- Maximum Relevance: Users pay much closer attention to notifications that are explicitly personalized to their unique context, tools, and tier.
- Noise Mitigation: Minimize notification fatigue by filtering out highly technical updates (e.g., API changes) from non-technical end users, or platform-specific notes (e.g., iOS fixes) from Android/Web users.
- Strategic In-App Upselling: Show targeted "Pro & Enterprise Feature" updates exclusively to your Free tier users with upgrade links, while showing high-scale infrastructure logs exclusively to large enterprise clients.
1. Defining Context Keys
Before you can target updates, you must define the "Context Keys" that your application utilizes. These are custom user attributes (like plan, role, platform, region) that you pass to the NanoLog SDK upon initialization.
- Navigate to Advanced & Security in your project dashboard.
- Scroll to the Predefined Context Keys field.
- Enter comma-separated identifiers (e.g.,
plan, role, platform) to register them in the visual segmentation dropdowns.
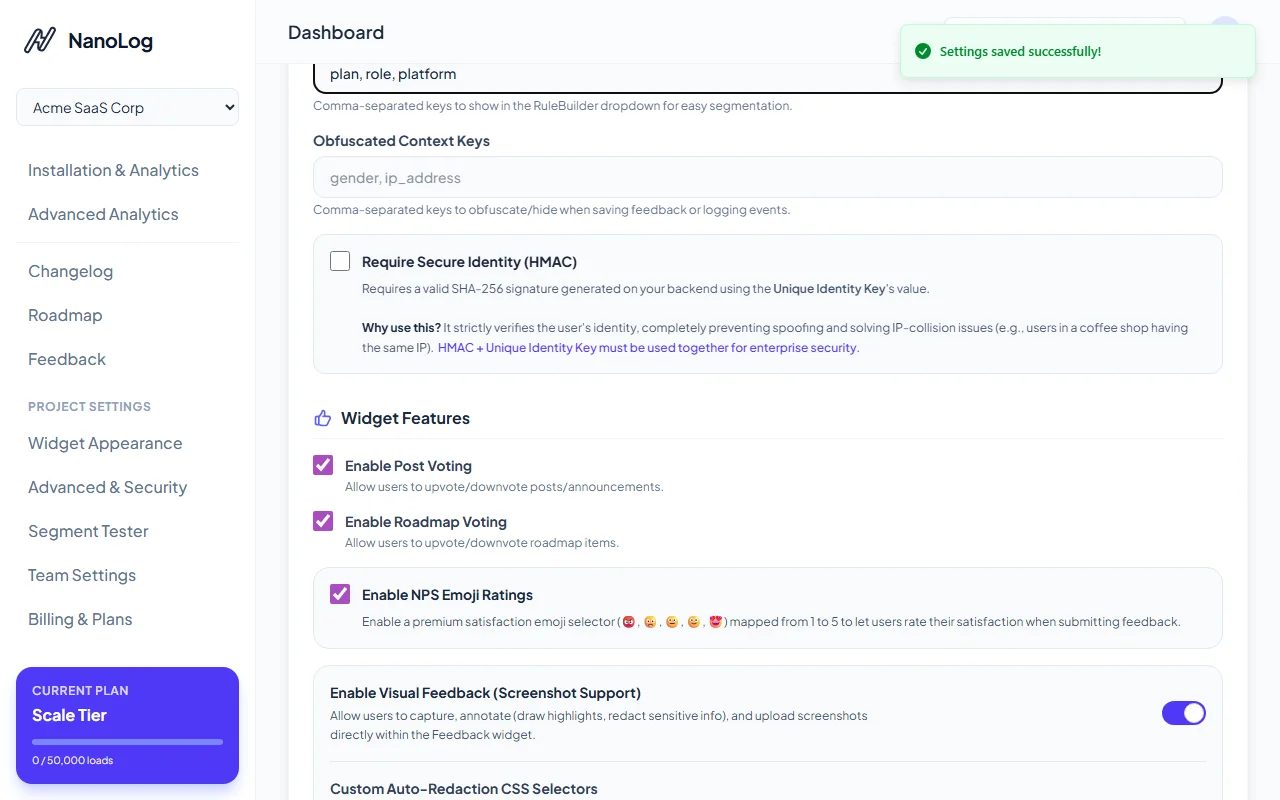
- Click Save Settings to confirm.
2. Crafting Segmentation Rules on Posts
Once keys are defined, you can apply custom visibility conditions to any changelog update.
- Create a new update or edit an existing draft in your Changelog dashboard.
- Scroll down to the Audience Segmentation panel.
- Click Add Target Audience to initialize the visual builder.
- Select your custom registered context key (e.g.,
plan), choose a comparison operator (e.g.,Equals (=)), and input the target value (e.g.,scale).
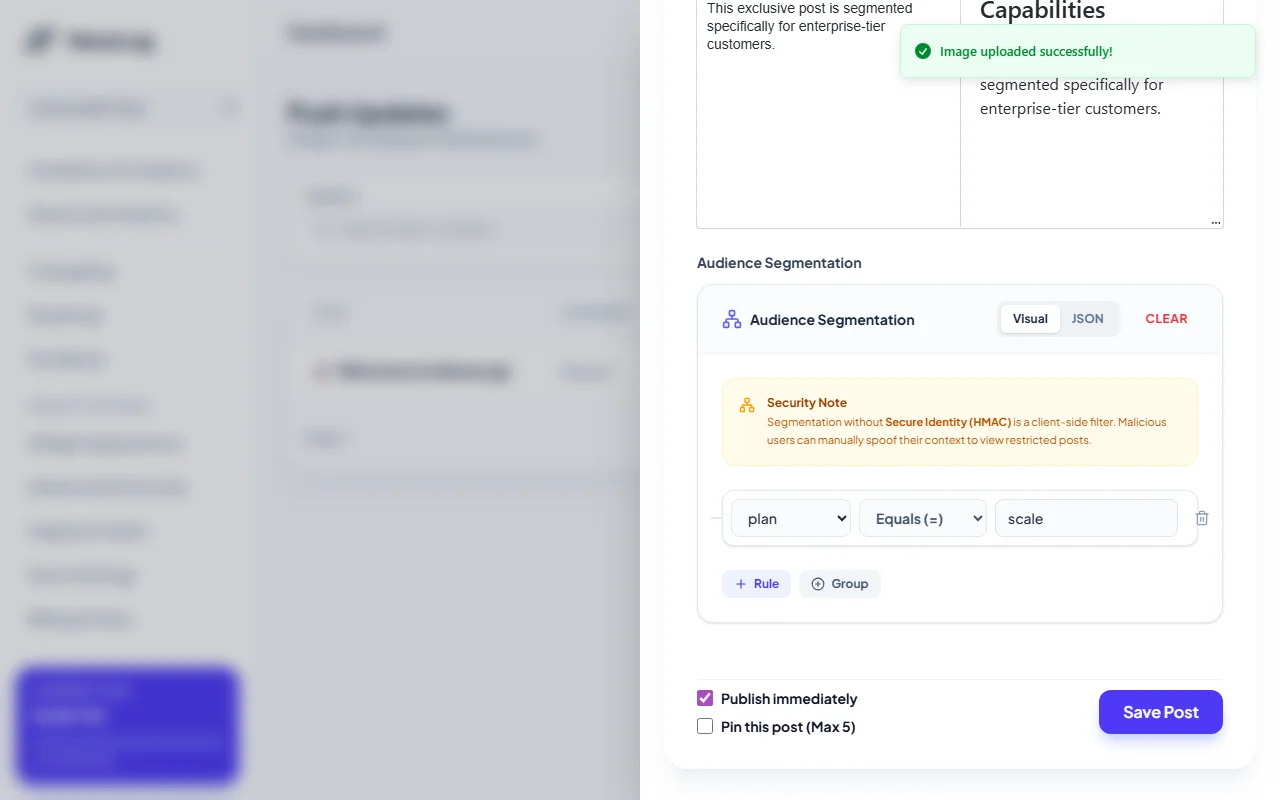
- Optional: Toggle to the JSON mode tab to write highly complex nested logical structures using raw boolean JSON conditions.
- Check Publish immediately and save the post.
3. Passing User Context via SDK
Finally, initialize the NanoLog widget inside your frontend application by passing the active user's properties as an object in the context parameter:
window.NanoLog.init({
  appId: "your-app-id",
  context: {
    plan: "scale",
    role: "administrator",
    platform: "web"
  }
});
The embedded NanoLog widget automatically evaluates these conditions inside the secure browser context. If the user's properties satisfy your rule builder logic, the update displays smoothly. Otherwise, it remains safely hidden, ensuring a clean, focused updates list.
[!IMPORTANT] Client-Side vs. Secure HMAC Mode: By default, segmentation is evaluated client-side for ease of setup. For sensitive enterprise-tier release notes or private betas, combine segmentation with Secure Identity (HMAC) to prevent users from spoofing context values. Learn more in the HMAC Security Guide.